前情提要
为了在Windows 下用FFmpeg + nginx + rtmp 搭建直播环境实现推流、拉流,首先需要在本地安装配置Nginx,这篇BLOG 将其过程记录下来。
本地环境
1.Windows 10
2.nginx nginx-1.18.0
下载Nginx
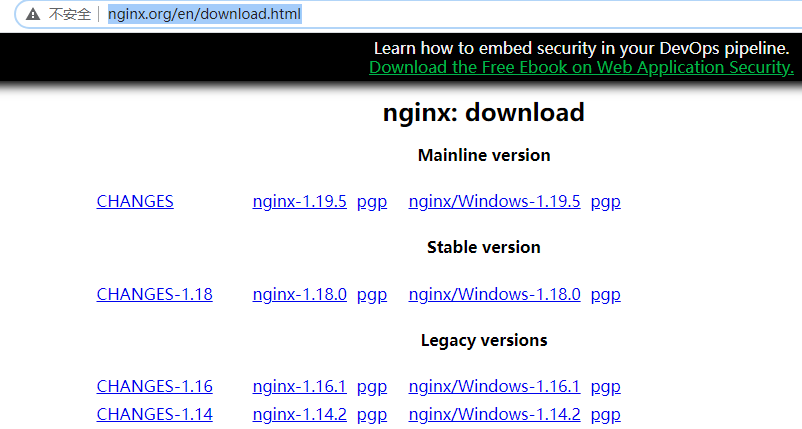
1.到官网http://nginx.org/en/download.html 下载最新的稳定版本
2.将下载好的压缩包解压到d:\nginx 目录
3.进入d:\nginx 点击nginx.exe 应该就可以正常运行了,但是在这一步我遇到了如下问题
遇到问题
1.点击nginx.exe 遇到如下问题
1 | nginx: [emerg] bind() to 0.0.0.0:80 failed (10013: An attempt was made to access a socket in a way forbidden by its access permissions) |
分析问题
主要是这一句bind() to 0.0.0.0:80 failed ,大概是80 端口被占用或者是没有权限访问80 端口,应该换个端口就可以了。
解决问题
1.进入d:\nginx\conf 找到nginx.conf 文件,全局搜索80 端口,将80 端口修改为8089 端口
1 | server { |
1 | server { |
解决结果
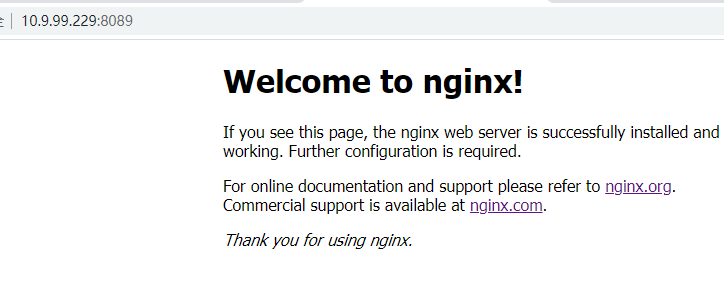
1.在浏览器中访问本地地址localhost:8089 或者是本地ip(我的本地ip 是10.9.99.229:8089/),可以看到如下接口结果就对了
命令行
这里的命令行是Cmder 命令行工具。
1.为了可以在命令窗口全局访问,在环境变量PATH 中添加Nginx 的安装目录d:\nginx
2.启动nginx
1 | start nginx # 根据配置文件nginx.conf 来进行启动 |
3.关闭
1 | nginx -s stop # 快速关闭nginx |
4.配置语法检查
1 | nginx -t -c conf\custom.conf # 可进行配置文件的语法检测。 |
产生如下失败检测信息
1 | λ nginx -t -c conf\nginx.conf |
更改之后,产生如下成功信息
1 | λ nginx -t -c conf\nginx.conf |
5.重新加载配置
1 | nginx -s reload # nginx是支持热部署的,意思就是可以在不停止服务的情况下进行更新部署 |
参考文档
1.Windows下用FFmpeg+nginx+rtmp搭建直播环境 实现推流、拉流(超简单教程) https://www.jianshu.com/p/eacfc0a9f2fd